
Non-slip steps for a cold plunge tub and durable materials
A step that looks solid can still become slippery when wet. Choosing non-slip steps for a cold plunge tub means considering more than the tread: the floor surface, drainage, and alignment with the tub all affect safe, comfortable access.
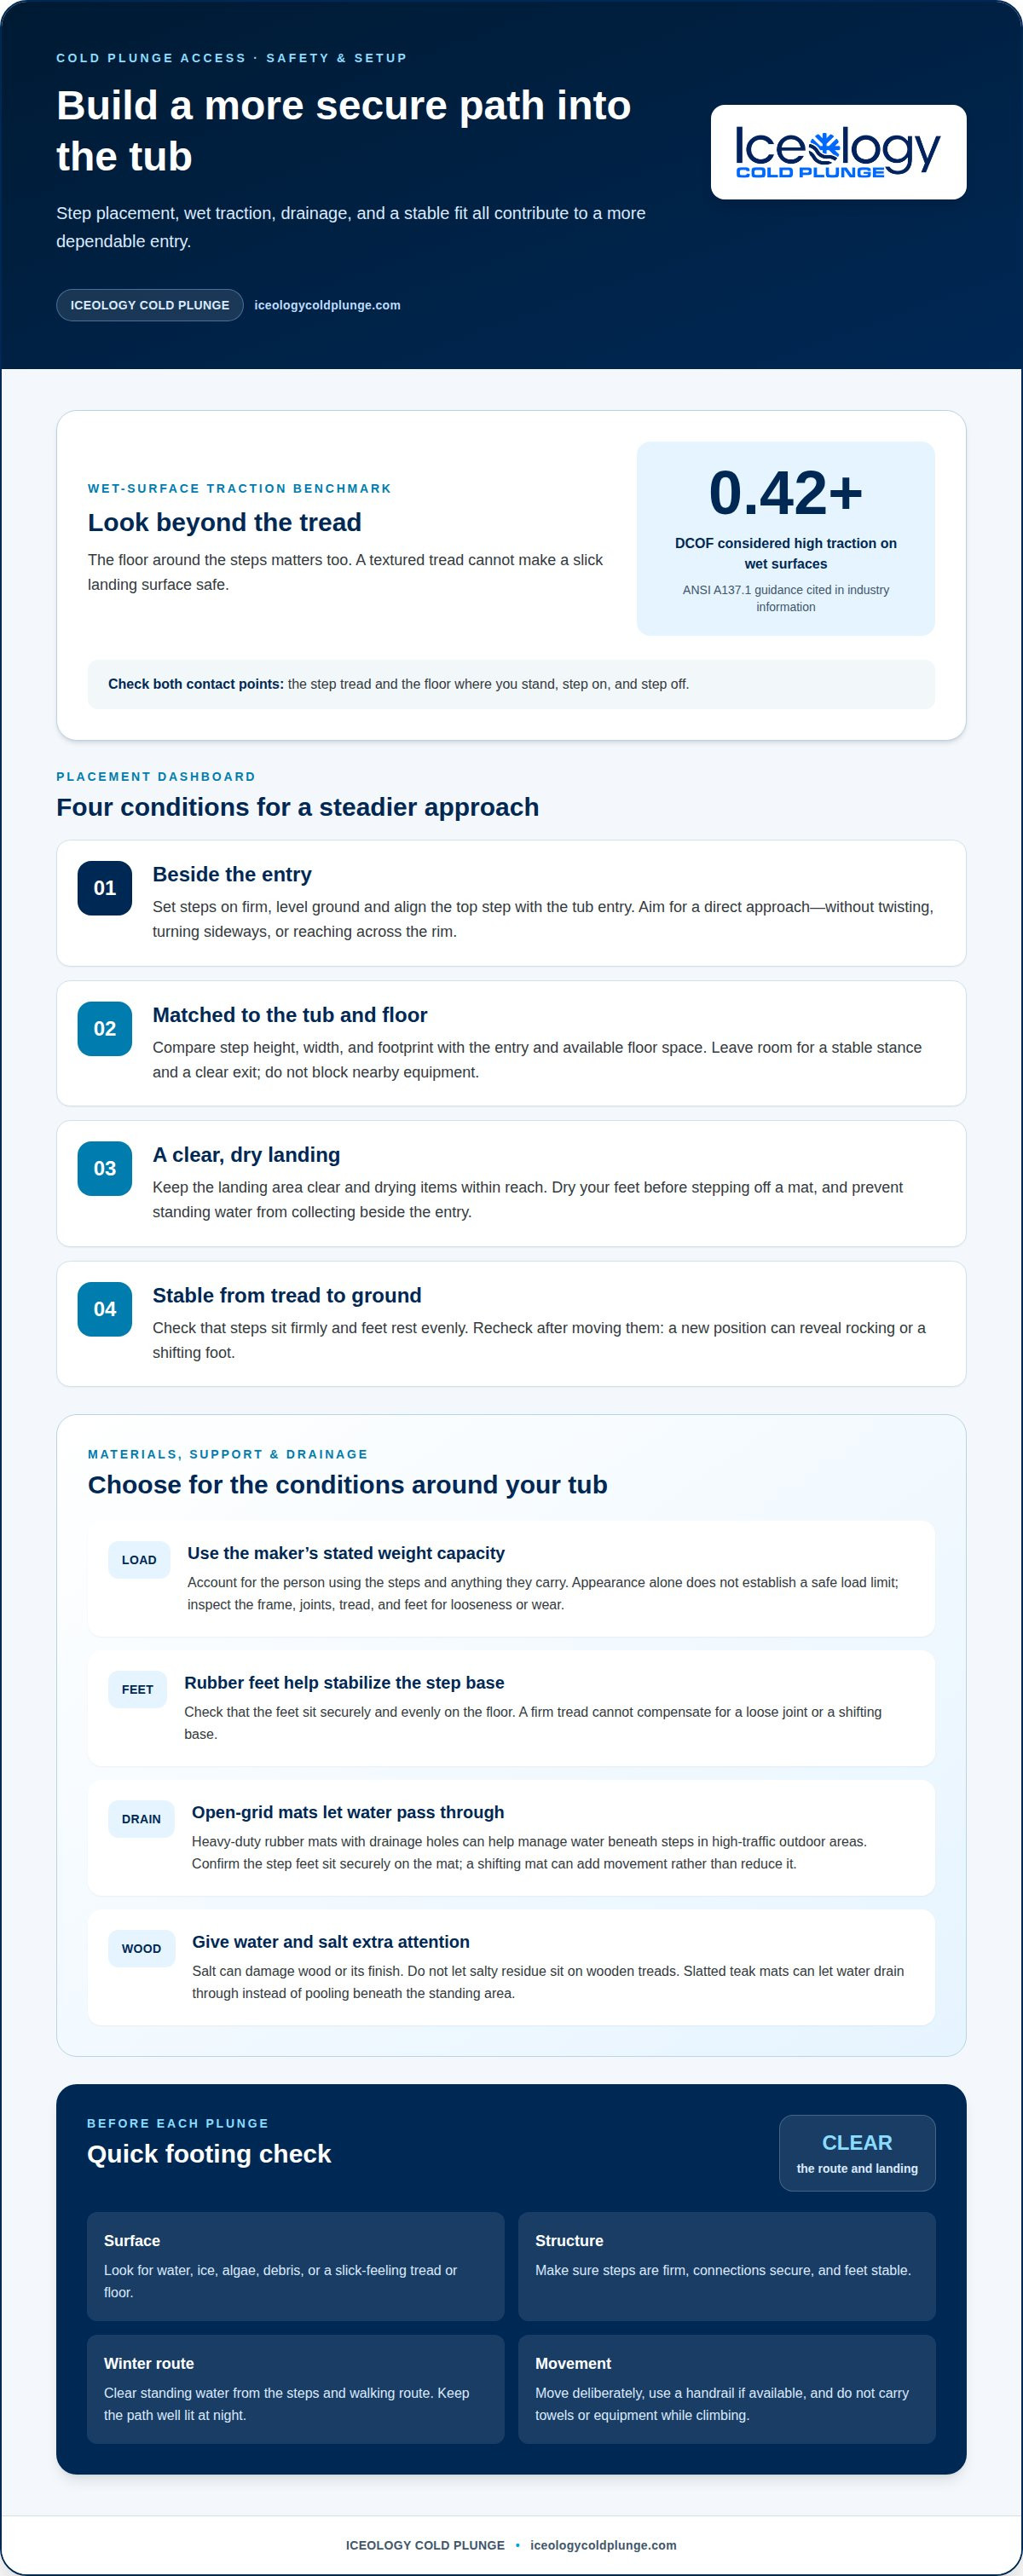
It makes sense to focus on stable footing around cold water. A secure approach can make getting in and out feel more controlled, while a poor fit or water that pools around the steps can undermine that comfort. For wet surfaces, a dynamic coefficient of friction (DCOF) of 0.42 or greater is considered high traction, according to the ANSI A137.1 guidance cited in industry information.
This guide explains how to position steps for a natural approach to the tub and what to look for in materials that handle regular exposure to water. You’ll also learn how drainage, surface texture, and mats can contribute to a more dependable setup, so you can choose an arrangement that supports your routine without adding unnecessary complexity.
Key Takeaways
- Position steps so the approach to the tub feels direct and stable, with room to get in and out comfortably.
- Choose materials with regular water exposure in mind; salt can damage wood or its finish.
- Match step dimensions and placement to the tub’s entry area to support a natural, comfortable transition.
- Use the step manufacturer’s stated weight capacity as a key selection factor, rather than judging strength by appearance alone.
- For high-traffic outdoor areas, open-grid rubber mats can provide drainage beneath steps and help manage water buildup.
Ergonomic step placement
Place non-slip steps for a cold plunge tub beside the entry, on firm, level ground. A direct approach helps you reach the water without twisting around nearby equipment.
Positioning Steps for Easier Entry
Position the steps so you can approach the tub without reaching across its edge. That alignment supports a controlled transition into the water. Keep the landing area clear, and place towels and other drying items within reach so you don’t have to cross a wet area after your plunge.
Wet traction matters at every contact point, including the floor around the steps. Check both the tread and the landing surface: a textured step won’t make a slick floor safe. Dry your feet before stepping off a mat, and prevent standing water from collecting beside the entry.
Matching Steps to Tub Designs
Check that the step height, width, and footprint suit the tub’s entry and the available floor space. A narrow access area may call for a compact arrangement, while a wider approach can allow broader footing. Align the top step with the entry so you don’t need to turn sideways or reach across the rim.
Cold plunge tubs vary in shape and entry layout. Measure the floor area and compare it with the steps’ footprint. Leave room for a stable stance, and don’t block nearby equipment. Non-slip steps for a cold plunge tub work best when they allow a direct approach and a clear exit.
How much do non-slip cold plunge tub steps cost? Cost depends on the material, construction, and design. Compare those features with the space and intended use of your setup.
How can you keep cold plunge steps from icing over in winter? Clear standing water from the steps and walking route. Apply an ice-melting product ahead of an approaching storm, and keep the path well lit at night.
How do you clean and maintain non-slip steps around a cold plunge tub? For wooden steps, scrub with steel wool, mild soap, and warm water, then rinse well. Oxygen bleach is recommended for wood because it is nontoxic and won’t remove the wood’s color.
What safety risks should you consider when using steps to enter a cold plunge tub? Water, ice, algae, poor lighting, and unstable steps can compromise footing. The National Safety Council identifies falls as the second leading cause of unintentional injury-related death. Use handrails on stairs and keep the entry path clear.
A slip on the top step can lead to a serious fall. Give the top tread and landing particular attention: approach squarely, keep the route unobstructed, and don’t step onto a surface that feels slick or unstable.
Before each plunge, check that the steps sit firmly and that your footing is secure from the first tread to the ground. Move deliberately, use a handrail if available, and don’t carry towels or equipment while climbing. If the steps shift or the surface is wet, address the problem before entering or exiting. A well-aligned approach helps you focus on each step and keep your balance beside the tub.
Step material durability
Material choice affects how steps handle splashes, cleaning, and exposure to the elements. Match the construction to the plunge location and the care you can provide.
Step Weight Support
Weight capacity is the maximum load a step structure can hold during use. The frame, joints, tread, and feet all bear force as you climb. Use the maker’s stated capacity, accounting for the person using the steps and anything they carry. A sturdy appearance alone doesn’t establish a safe load limit.
Inspect the whole structure, not just the top surface. A firm-feeling tread won’t compensate for a loose joint or shifting foot. Check that connections are secure and the feet sit evenly on the floor. Recheck after moving the steps, since a new position can reveal rocking.
Rubber Feet and Anti-Slip Mats
Rubber feet help stabilize steps where they meet the floor, while a mat can provide a drainage layer beneath the frame. In commercial wellness spaces or high-traffic outdoor areas, heavy-duty rubber mats with open-grid drainage holes let water pass through instead of pooling beneath the steps.
A mat isn’t automatically a substitute for slip-resistant footing. Some mat listings caution that users should walk carefully, especially when the mat is wet. Check whether the step feet sit securely on the mat, and keep the walking surface clear of water and debris. A shifting mat can introduce movement instead of reducing it.
What are the best non-slip steps for indoor versus outdoor cold plunge tubs? Indoors, prioritize steps and floor coverings that handle splashes and drain or dry readily. Outdoors, choose materials suited to repeated weather exposure, and remember that salt can damage wood or its finish.
Wooden steps can provide a warm, natural finish, but water and salt need attention. Don’t let salty residue sit on the treads, as it can wear away wood finishes. Slatted teak mats beside the steps let water drain through instead of pooling, reducing persistent wet patches underfoot.
Indoors, a slatted mat can help drain splash water away from the standing surface. Outdoors, consider whether the steps and mat will face rain, freezing conditions, or salt. Materials that suit one location may need more care in another. Assess the treads and support components together.
Choose a finish and support system that fit your cleaning routine. Check the feet, joints, and tread for looseness or wear, especially after moving steps or cleaning around them. For a setup where entry design matters, explore cold plunge tub designs alongside your step layout.
Which non-slip steps are compatible with popular cold plunge tubs?
Compatibility depends on the tub’s entry height, shape, and surrounding floor space. Match the steps to these features instead of choosing by appearance alone.
Match the step layout to the tub opening
First, identify the easiest point of entry at the tub’s rim. A tub with a broad, unobstructed side may suit steps placed squarely beside it. A narrow access point calls for a compact layout that leaves the opening clear.
Compare the height of the top step with the distance from the floor to the tub’s entry edge. A large gap can make the transition awkward, while a step that sits too high can interfere with getting over the rim. The right fit supports a natural movement from the floor to the tub.
Consider the tub’s outer shape, too. A rounded wall may leave a gap beside a straight-sided step frame. Position the steps close to the entry, where they remain stable without pressing against or obstructing the tub.
Check the footprint and surrounding equipment
Measure the floor area where the steps will sit, including room to approach and turn. A step unit may fit beside the tub yet block a nearby wall, drain, or chiller. Keep equipment and access paths clear.
Check the entire footprint, not just the top tread. Feet that extend beyond the frame need level support, and a mat beneath the unit can affect how securely they sit. Assess the steps and floor together, whether the tub stands on a deck, tile, or another surface.
Choose a stable, compatible construction
Freestanding steps need an even base that won’t rock during entry. Non-slip treads can’t prevent a frame from shifting if its feet rest unevenly or its width doesn’t suit the space. For a raised tub, a handrail may support the transition if it doesn’t obstruct access.
Built-in or integrated steps avoid a separate footprint, but their tread position and surface still need to suit the user and tub entry. A portable step unit offers placement flexibility, but must be aligned carefully whenever it moves.
Use these compatibility checks before settling on a setup:
- Align the top tread with the tub’s intended entry side.
- Confirm the frame sits level and doesn’t interfere with the tub.
- Keep drains, chillers, and walking paths accessible.
- Check that the tread and surrounding floor both provide secure footing.
Tub designs vary in height, shape, and entry layout, so no single step style fits every model. Choose an arrangement that meets the tub at a comfortable point, stays stable on the actual floor surface, and leaves the entry clear.
How much weight can cold plunge tub steps safely support?
There isn’t one weight limit for every step design. The safe load is the capacity stated for the specific unit, based on its frame, tread, joints, and support surface. Without the model’s rating, a precise figure would be unreliable. Treat the stated capacity as a limit, not a target to exceed.
Weight is only one part of a stable entry. A person places force on a smaller area while stepping than while standing still. For example, climbing onto a tread loads it differently from standing evenly on the floor. A loose joint, uneven foot, or flexible tread can affect stability even when the user’s weight falls within the product rating.
Use the step maker’s stated load capacity for the complete unit. A rating for one tread or component may not describe the assembled steps. If the documentation specifies a maximum user weight, follow that figure. Don’t add capacities across separate steps unless the manufacturer explicitly defines the rating that way.
For a practical assessment, consider these factors together:
- Rated capacity: Use the limit stated for the assembled step unit, not an estimate based on appearance.
- Load distribution: A centered stance distributes force differently from standing on one edge.
- Step condition: Cracked treads, loose fasteners, or bent supports can compromise the structure.
- Floor contact: Rocking feet or a sloped surface can affect stability under load.
- What you carry: A towel or other item adds load and can occupy a hand needed for balance.
Check the structure before each use. Press down on the empty step and look for movement at the joints and feet. If you hear a creak or see a shift or separation, stop using the unit until the cause is addressed. Repeat the inspection after moving the steps or changing their support surface.
Weight capacity doesn’t indicate slip resistance. A step may support its rated load while its wet tread offers poor traction. Assess capacity and tread surface separately: a sturdy frame with a smooth, wet surface supports the load but not secure footing.
Choose steps with a stated capacity that accommodates the person using them and anything carried during entry. Keep them on an even, supportive surface, and don’t bounce or jump onto the tread. These practices support safe use but don’t replace the stated limit or regular condition checks.
Are rubber feet or anti-slip mats needed under cold plunge steps?
Rubber feet and mats address different contact points. Feet sit beneath the step frame; a mat covers part of the floor. Choose based on whether the steps move, the floor gets wet, or both.
Rubber feet can help a frame grip a smooth floor and limit movement. They work best when each foot contacts the surface evenly. Before use, check that the feet are clean, intact, and firmly attached. A missing or worn foot can make the frame rock, even on a dry floor.
A mat can add drainage and traction beneath or around the steps. Heavy-duty rubber mats with open-grid drainage holes suit commercial wellness spaces and high-traffic outdoor areas. Water passes through the openings instead of collecting on top, but the mat must lie flat without curled edges.
Not every mat is a slip-resistant walking surface. Some product listings warn that a mat isn’t a substitute for slip-resistant mats and advise caution when walking on it, especially when wet. Treat the mat and the step tread as separate surfaces. A secure tread doesn’t make a slippery surrounding floor safe.
Use these checks to decide whether a mat, rubber feet, or both suit the setup:
- Hard, smooth floor: Check whether the frame shifts when you press each corner.
- Wet landing area: Consider a drainage mat that lies flat around the step base.
- Outdoor traffic: Choose a durable open-grid mat where repeated foot traffic and water are expected.
- Soft or uneven ground: A mat won’t correct an unstable base; reposition the steps on firmer, level support.
Before entry, press down on the step and see whether the feet slide or lift. Check the mat’s edges and underside for trapped debris or folds. Reposition any loose layer, and prevent water from pooling between the mat and floor. This quick inspection can reveal movement before anyone steps up.
Dry feet matter, too. Diatomaceous earth mats wick moisture from feet and dry quickly, helping reduce standing water. They can serve as a drying surface beside the steps, but don’t assume they replace a stable base or slip-resistant tread. Keep towels and drying gear close to avoid crossing a wet floor.
The right choice depends on the floor, step feet, drainage, and foot traffic. A stable frame on a dry, grippy floor may not need an extra mat. A wet, busy outdoor area may benefit from secure feet and a well-fitted drainage layer.
Dry your feet before stepping off the non-slip mat to reduce moisture carried onto the surrounding floor and keep the transition safer.
Iceology Cold Plunge
Iceology Cold Plunge helps you build a cold-water routine around equipment designed for recovery and wellness. Its cold plunge tubs are made in the USA and feature built-in chillers that can lower water temperature to as low as 39 °F. Choosing a tub is also a chance to plan the full setup, including stable access and suitable accessories.
Consider the entry height, available floor space, and how your steps will meet the tub before settling on a layout. A well-matched setup can make entering and exiting feel more controlled, while durable materials and drainage support regular use. Iceology Cold Plunge offers cold plunge tubs, ice baths, cold tubs, and accessories for your recovery space.
Contact Iceology Cold Plunge to discuss your cold plunge setup.
Make Your Cold Plunge Setup Your Own
Choosing non-slip steps for a cold plunge tub is one way to make your routine feel deliberate from the first approach. Consider how you use the space each day, where you pause before entering, and what would make the transition feel natural. A considered setup can make your recovery ritual easier to return to.
Let the space guide your next decision. Picture the full path, from drying off to stepping away, and notice what interrupts that flow. Small adjustments to the surrounding setup can create a more comfortable experience that suits your home and habits.
Explore Iceology Cold Plunge tubs and accessories to build a setup that supports your cold-water routine.
Build a space that supports your practice, one thoughtful choice at a time.
Frequently Asked Questions
What materials make cold plunge tub steps slip-resistant when wet?
Textured rubber and molded treads can improve grip under wet feet, while drainage features help prevent water from collecting on the standing surface. Look for a pattern that feels comfortable under bare feet and doesn’t trap debris in deep grooves. Slatted teak allows water to drain through around the steps. Keep treads and floor coverings clean, since residue can reduce traction.
What step height and width are safest for getting into a cold plunge tub?
Choose dimensions that let you place your whole foot securely and shift your weight without reaching or twisting. The top step should meet the tub entry naturally, and each tread should allow a balanced stance rather than forcing your foot near an edge. Consider your usual approach and the tub’s rim height together. A handrail can provide support when the entry layout allows.